You can get back on the road fast with the right booster cable and a few safe steps. A good set of heavy-duty, properly gauged jumper cables gives you the power to start a dead battery quickly and safely.
This post shows what a booster cable does, how to pick the right one for your vehicle, how to use it without risking sparks or damage, and simple storage tips so you’re ready for emergencies. Follow along and feel confident the next time your car won’t start.
What Is a Car Booster Cable?
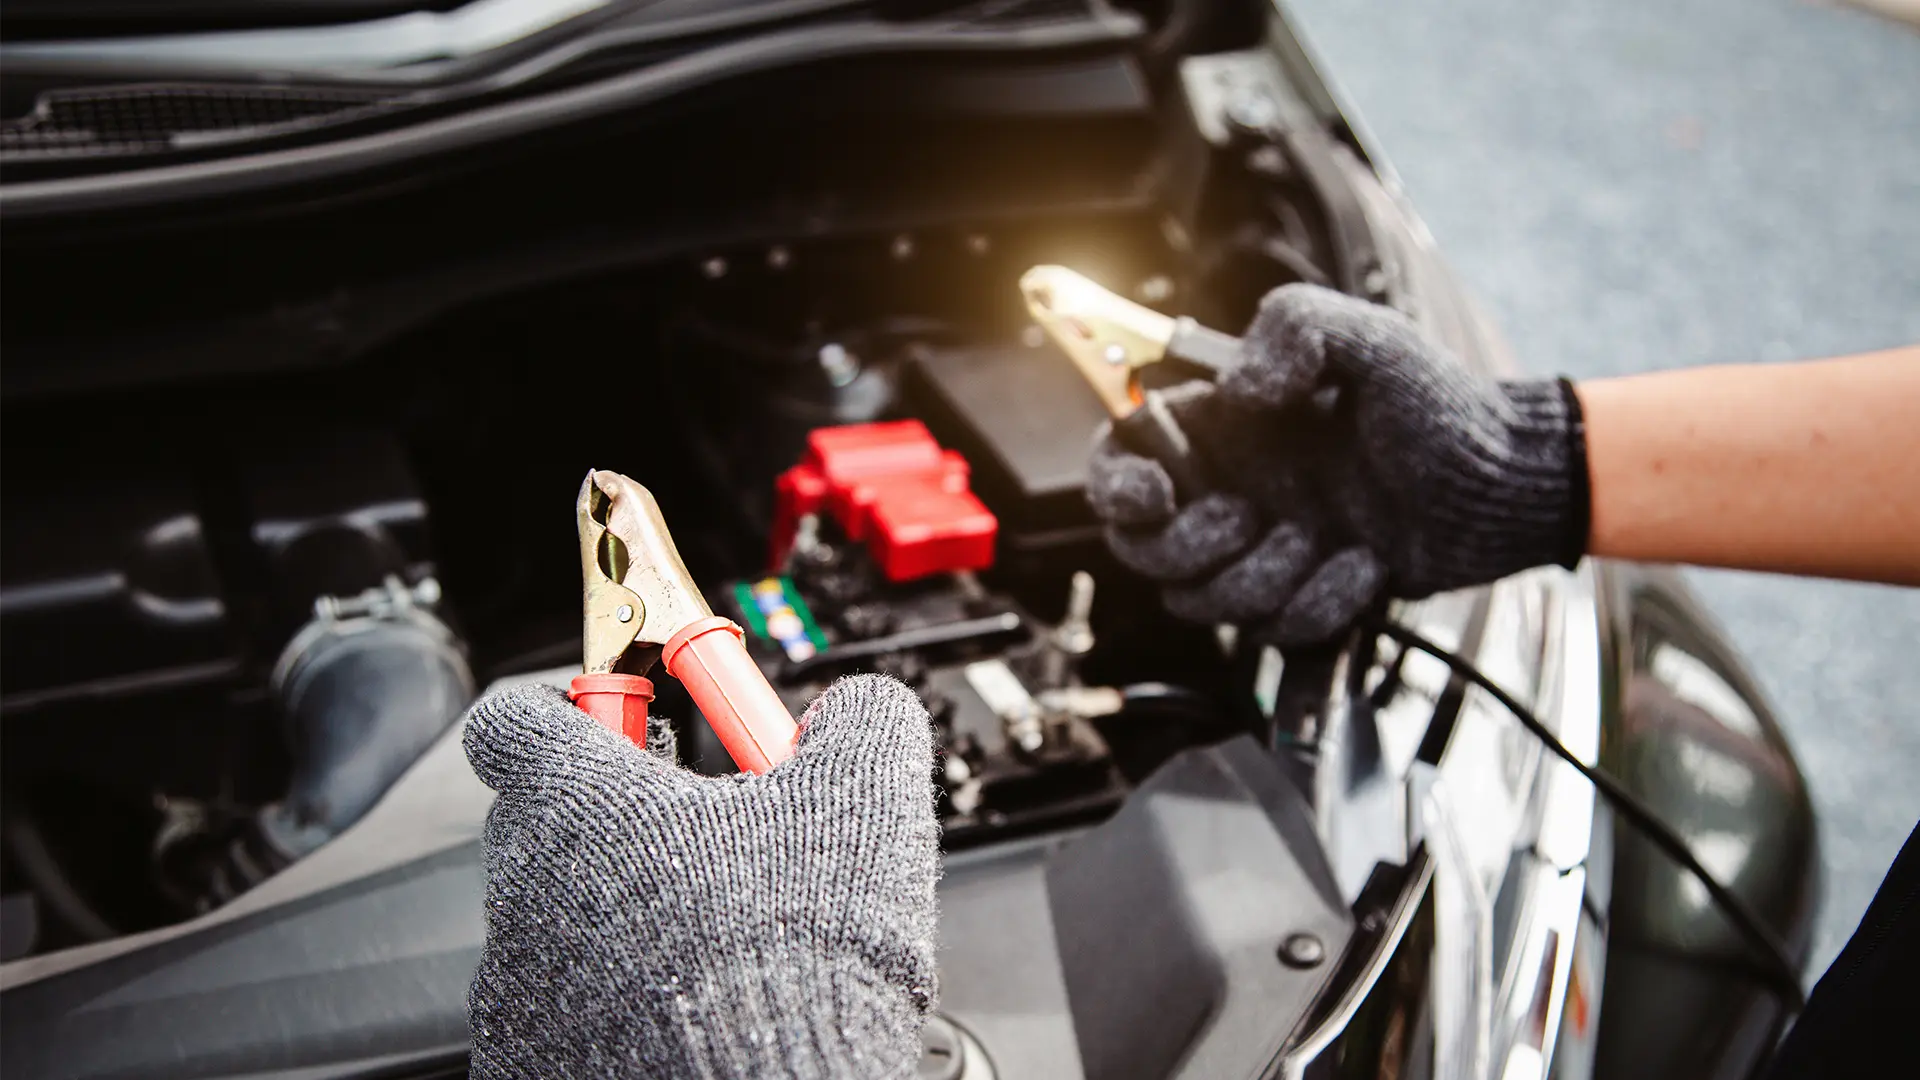
A car booster cable is a heavy-duty wire set you use to transfer power from one 12V battery to another. It has two insulated leads—red for positive and black for negative—with metal clamps on each end for attachment.
Jumper Cables vs. Booster Cables
People often call both names the same, but you should know the difference. Jumper cables are basic booster cables: two conductors with clamps meant for short, emergency starts. Booster cables can be heavier gauge and longer for larger engines or trucks.
Gauge matters: lower numbers (like 2–4 AWG) carry more current and work better on big engines. For small cars, 6–10 AWG usually suffices.
Color coding and sturdy clamps help prevent mistakes. Use thicker, shorter cables when possible to reduce voltage drop and heat.
Typical Uses and Applications
You use booster cables when a battery is low but not dead permanently. Common uses: roadside jump-starts, charging from another car, and topping a battery with a jump box.
They suit cars, SUVs, and light trucks. For diesel engines or large vans, pick heavy-gauge cables. Keep cables in your trunk and choose a length (10–20 ft) that fits engine bays parked side by side.
Associated Equipment Needed
You need a donor battery, a jump box, or a portable battery booster that matches 12V systems.
Also carry gloves, safety glasses, and a wire brush to clean terminals.
Follow the correct connection order: positive-to-positive, then negative to a grounded metal on the dead car. This reduces sparks and protects electronics.
Choosing the Right Car Booster Cable
Pick cables that match your vehicle size, storage needs, and climate. Focus on gauge, whether you need heavy-duty, and clamp safety to make sure the cables work when you need them.
Cable Gauge and Thickness
Cable gauge tells you thickness: lower numbers mean thicker wire. For most cars, 6–8 gauge works fine. Use 4-gauge or lower for trucks, SUVs, and diesel engines because thicker cables deliver more current and reduce voltage drop.
Thicker cables heat less and start large engines faster. If you drive in cold weather, choose thicker cables—cold reduces battery output. Look for copper or copper-clad conductors; pure copper conducts best but costs more.
Heavy Duty and Standard Types
Standard jumper cables (8–10 gauge) suit small cars and occasional use. Heavy duty booster cables (4–6 gauge) suit frequent use, larger engines, or colder climates. Heavy-duty cables often come in longer lengths like 16–20 feet for easier reach between vehicles.
You’ll pay more for heavy duty, but they last longer and handle higher peak currents. Brands like EasyLifting offer models across these ranges, with clear specs so you can match cable gauge to your engine size.
Clamp Quality and Safety Features
Good clamps grip tightly, have strong springs, and cover the jaws with thick insulation. Copper-coated clamps improve conductivity and resist corrosion better than plain steel.
Look for clamps with full jaw coverage and insulated handles to avoid sparks. A storage bag and UL listing add safety and make your cables easier to keep ready in your trunk.
How to Use Car Booster Cables Safely
Keep the cars off, parking brakes on, and use thick, clean cables. Work on a flat spot and wear gloves or eye protection if you have them.
Step-by-Step Jump Start Instructions
Park the donor car close enough for cables to reach but not touching. Turn off both ignitions and set both cars in Park or Neutral with parking brakes engaged.
Attach cables in this order: red to the positive (+) terminal on the dead battery, then red to the donor positive. Next attach black to the donor negative (metal chassis or engine block is best), then black to an unpainted metal point on the dead car away from the battery. Start the donor car and run it for 2–5 minutes. Try starting the dead car. If it fails, wait a few minutes and try again. Remove cables in reverse order.
Connecting to Battery Terminals
Clean loose corrosion with a wire brush or cloth before clamping. Identify + and − clearly; positive often has a red cover or + mark.
Clamp firmly so metal-to-metal contact occurs. Avoid painted surfaces on terminals. If you must use a ground instead of the dead battery negative, pick a solid unpainted bolt on the engine block away from the battery and moving parts. Loose clamps cause sparking and poor charging.
Precautions to Avoid Damage
Never let clamps touch each other once connected to a battery. Sparks near a battery can ignite hydrogen gas.
Do not lean over batteries and avoid smoking. Use heavy-gauge cables; thin cables may overheat. Limit starter cranks to 3–5 seconds with short rests. If the car still won’t start, the battery or alternator may be bad—call roadside help.
Maintenance and Storage Tips
Keep cables clean, clamps corrosion-free, and store them coiled in a dry, easy-to-reach place. Inspect before trips and protect clamps from moisture and dirt.
Cleaning and Inspecting Booster Cables
Check cables every three months or before long trips. Look for cracked insulation, exposed wires, or soft spots along the length.
Inspect clamps for corrosion, loose jaws, or damaged spring action. Clean light corrosion with a wire brush and wipe metal parts dry.
If clamps are heavily corroded, replace them. Use dielectric grease or a thin film of petroleum jelly on clamp jaws to slow future corrosion. Test cable continuity by flexing them while looking for internal breaks or inconsistent resistance.
Keep a small flashlight and gloves with your kit so you can inspect parts clearly and safely at night or roadside.
Proper Storage Practices
Coil cables neatly using the figure-eight or over-under method to avoid kinks. Secure the coil with a Velcro strap or built-in tie.
Store cables in a weatherproof pouch or hard case to keep out moisture and dirt. Place the kit in the trunk pocket or under the seat where it won’t get crushed.
Avoid storing cables near heat sources or sharp objects. Mark the pouch with a red or reflective tag so you can find it quickly in low light.